
When I first heard about the concept of self-photo studios (which first started trending in Korea), I was thinking why would anyone pay money just to take selfies. Can’t you do it with your own camera or phone? I mean, all you need is really just a DSLR and a remote right? I was skeptical at first but after going for a self-photography session at Photopia, I understood what the hype was all about and why even Korean celebrities like DIA’s Chaeyeon and Lovelyz’s Yein and Jisoo, patronised such self-photo studios as well.
If you’re a 80s or 90s kid, you will also remember the days where NeoPrints and self-photo booths are popular. Looks like such trends are cyclical and somehow, it seems more fun to be taking photos without an actual photographer.
What’s the whole process like?
I first book an appointment with them for a slot via their website. Each session costs $30 nett. The prices are similar to other self-photo studios in Singapore.
1. Choosing the tone
Their studio is located at 313@Somerset, Orchard area so it is rather convenient for me to get there. Once we reached there, they asked me whether I would like to go for black and white (B&W) or coloured photography. I went with B&W since it is a more popular form of photography nowadays. Monochromatic photography brings more focus to the raw expressions on our faces and brings a more authentic feel to the photo. That’s perhaps why most would go for B&W at such self-photo studios.
2. Choosing the backdrop
At Photopia, they have three backdrops to choose from: white, black and grey if you go with monochromatic photography. We went with the grey backdrop because I was wearing black and my partner was donned in white. It’s best to choose a contrasting backdrop colour so that you will not blend in with the backdrop. Having that said, I would also suggest that you colour coordinate and decide what to wear with your friends or partners before the photoshoot itself.
3. Prepping yourself
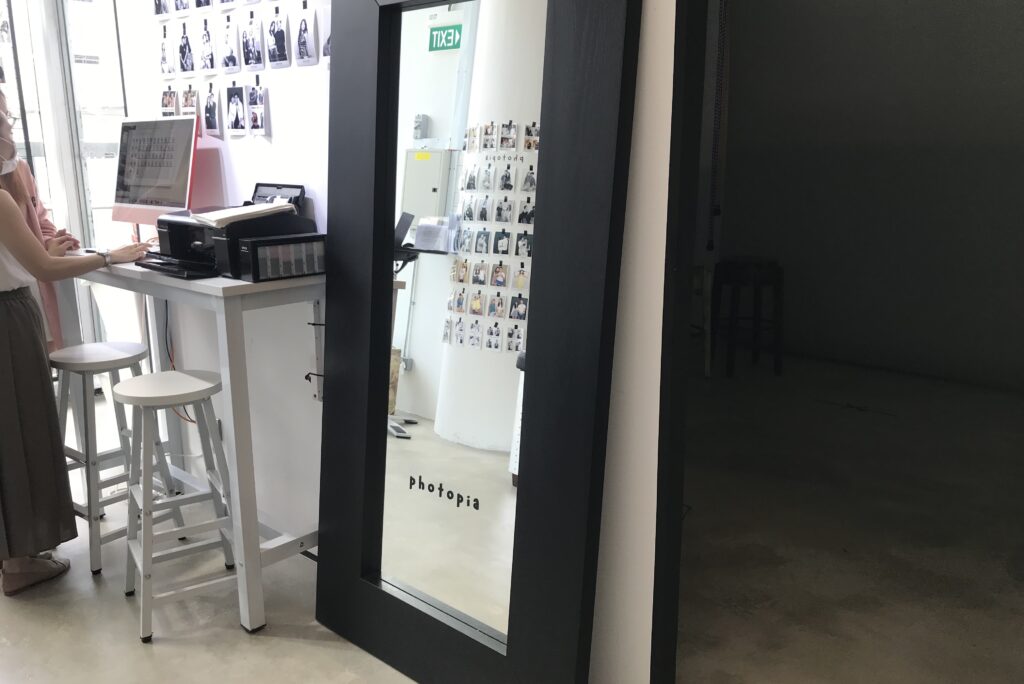
Before entering your personal photo booth, it is good to check yourself out in the mirror and make sure everything is placed where it should be. There are a couple of full-length mirrors outside the booth where you can even practise some poses before heading in.
*Here’s a tip: To make full use of the time you have at the studio, it will be best to learn and practise some poses before the shoot so that you can capture more shots of yourself.
4. It’s time to shoot!
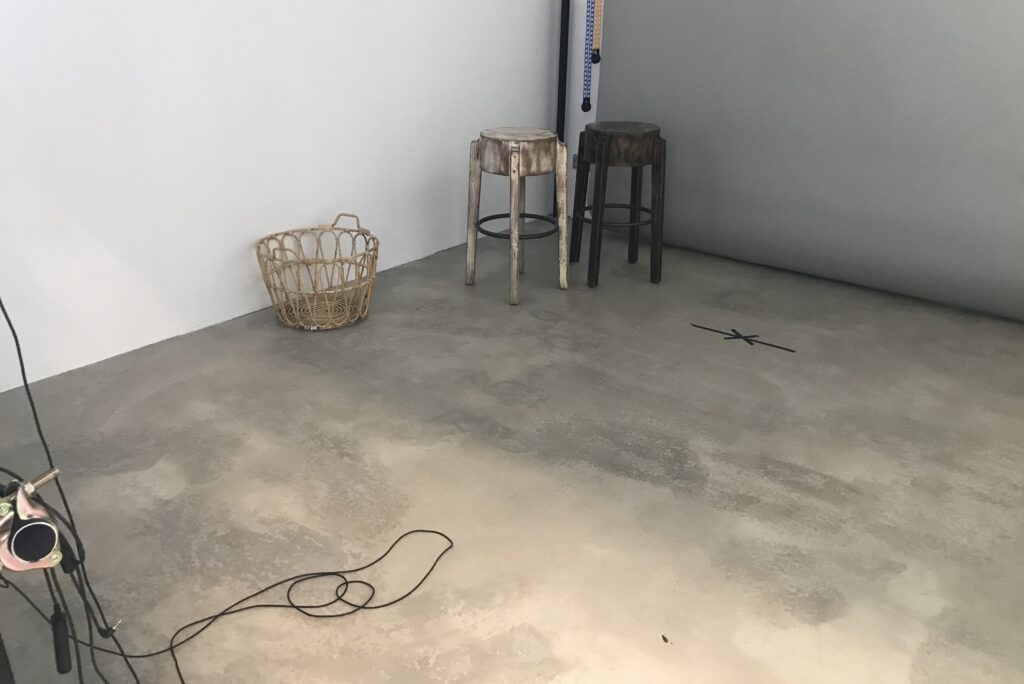
The studio space is quite spacious and there’s a basket for you to place your belongings. Besides the camera and lighting set-up, there are also two wooden chairs as props.
15 minutes is all you’ve got!
The staff will hand you a remote control which is sync with the camera so all you have to do is just click and swipe up the button to take a shot. And you only have 15 minutes to play with the camera. So if you are comfortable with the camera and know how to pose, you can actually take a lot more shots within a short timeframe. For instance, my partner was quite clueless how to pose and I have to spend some time correcting his poses and encouraging him to be creative with his poses.
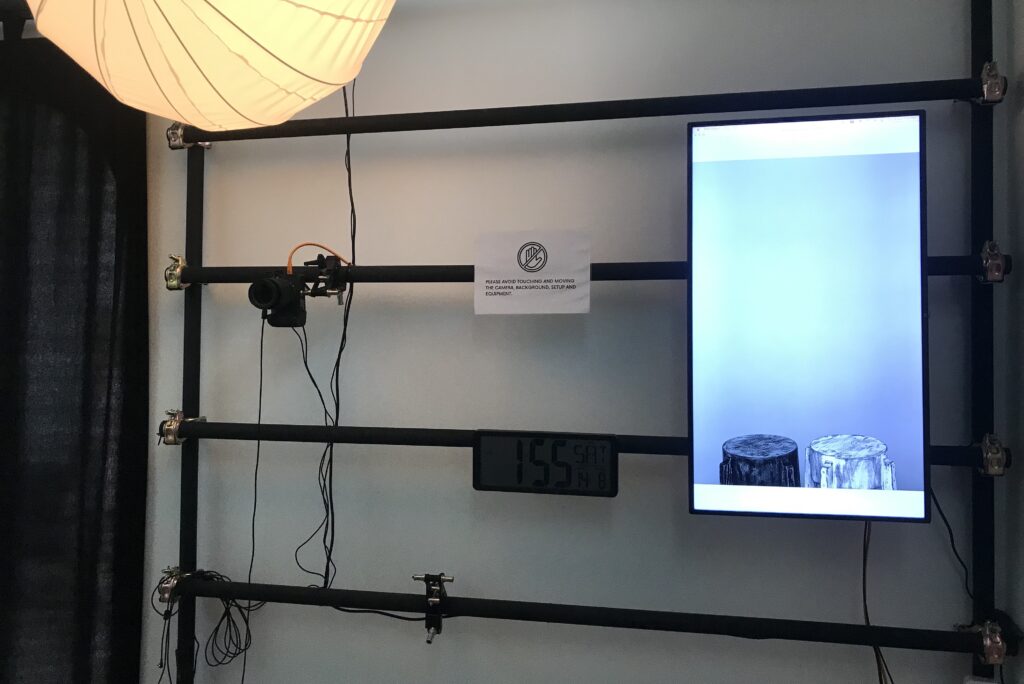
There’s a huge LCD screen right in front of us so that we can see what’s going on behind the camera lens. The huge digital countdown timer fixated to the rack helps us to keep track of the time.
It can be really fun since you can move freely and let your inner supermodel personality shine. I felt more comfortable with the camera knowing that there’s no one else around except for me and my partner. There are no rules to follow and no one to tell you whether your pose is right or wrong. You are the sole photographer and you don’t have to worry about the camera and light settings because all the settings are already pre-adjusted. The soft lighting and perfect aperture just makes every snapshot looks almost perfect.
5. Browse and select
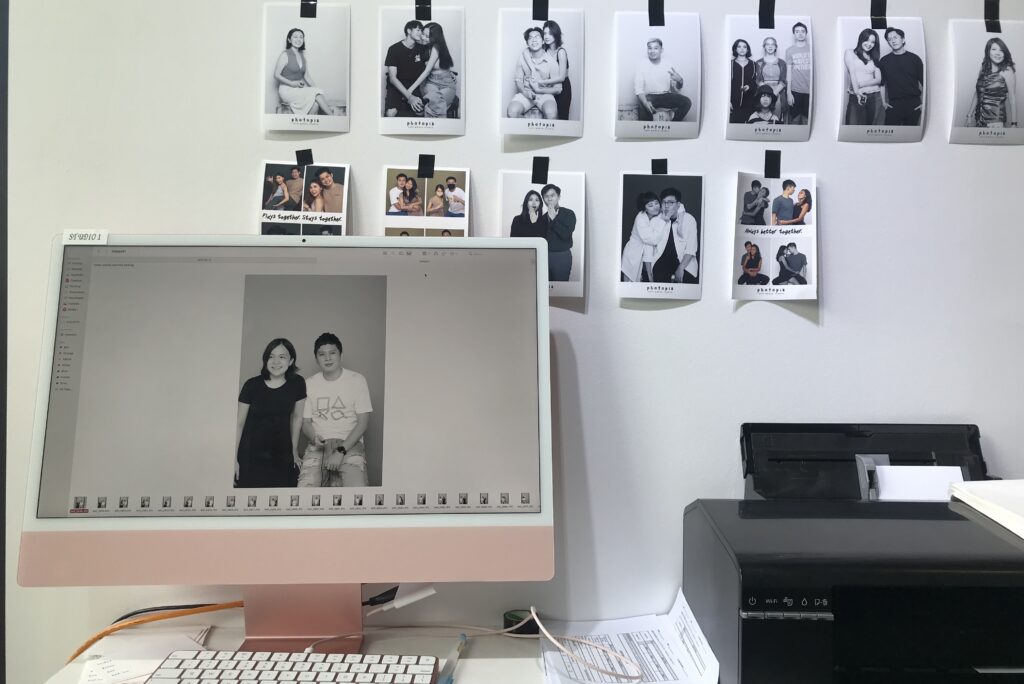
In the span of 15 minutes, we took about 137 shots in total. That’s really not bad considering that we were quite clueless at the start and spent some time thinking of couple poses. With the large collection of photos, we get to choose several photos to be printed out on hardcopies. Our package comes with 2 single-shot hard copies and 2 photo collage prints. If you would like them to print additional photos, there will be extra cost incurred.
The photo selection process can take some time as you select your favourite photos to be printed. And you will have to wait an additional 10 to 15 minutes for the photos to be printed. All in all, the whole session took us about 35 minutes.
It’s definitely worth the hype.

We were so happy to view the high-quality prints because they just look so amazing. The images on the prints are crisp and sharp. These hardcopies can be kept as keepsake and with the soft copies, I could store them into my computer or phone digitally for future use.
This is better than taking selfies with your phone.
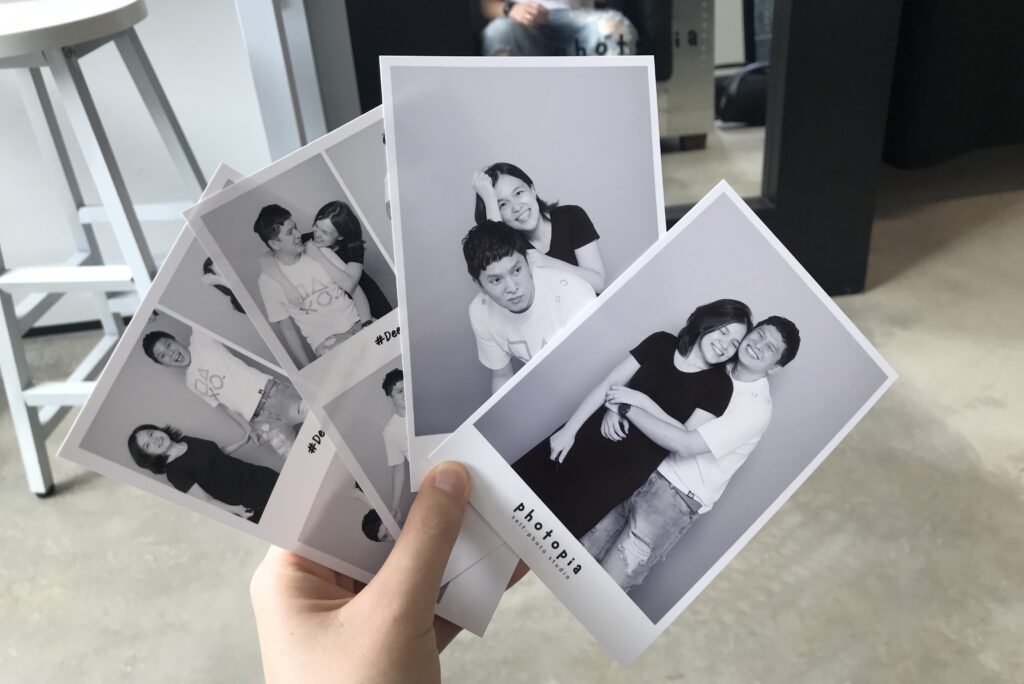
If you have not visited a self-photo booth, I would highly encourage you to do so because I didn’t expect myself to have so much fun with my partner, letting ourselves go and doing silly poses. I realise that it is not entirely about the results but the process itself. Going for a self-photoshoot can be really fun without strangers, the heat and other weather elements. If you are getting married soon, you should totally consider getting your pre-wedding shoot done here.
